
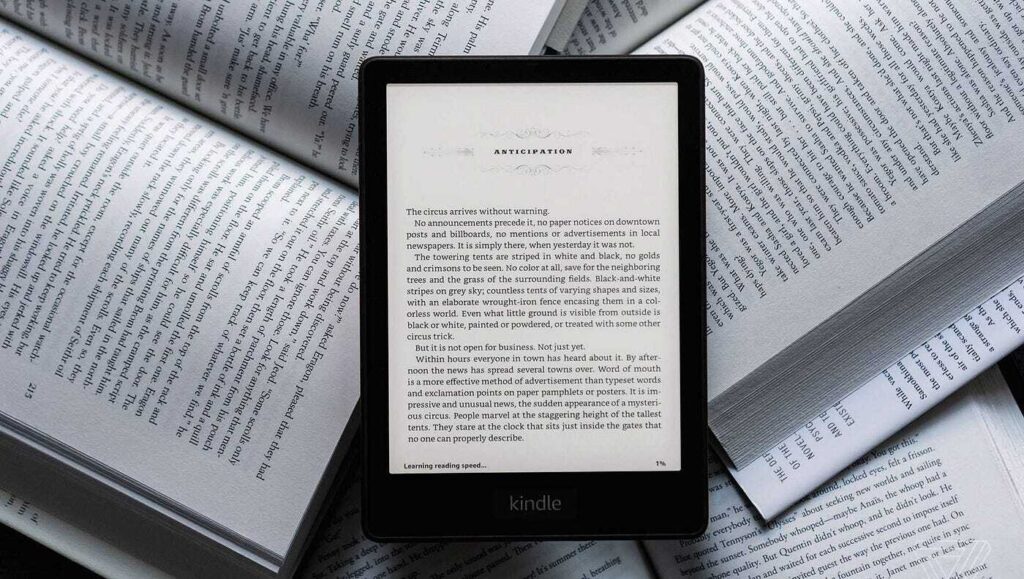
Before you touch a single margin or heading style, it helps to understand what Kindle formatting actually is and how it differs from formatting a print book. Getting this foundation right will save you from redoing work later.
Most books published for Kindle use reflowable format, which allows text to automatically adjust its format depending on the screen size chosen by the reader and his preferences regarding fonts. So, for example, when reading from a Kindle Paperwhite, one can make the text very large, and the entire book will flow accordingly, including the table of contents and page breaks. This is how your novel or memoir should be designed. In the case of fixed-layout eBooks, everything remains the same as you have designed it before – the format resembles that of a PDF. Thus, this is the format that is preferred in children’s picture books, comics, cookbooks, and other types of books where the importance of visual layout is higher than that of adjustable text. The disadvantage of fixed-layout books is that they make resizing impossible for readers. If you are unsure what type of eBook you should choose, think about whether the reading process will be influenced by the exact placement of images and text within the book.
Kindle Publishing at Amazon currently supports several kinds of files to use as an eBook manuscript: EPUB, Microsoft Word (DOC/DOCX), HTML, TXT (plain text), RTF, and KPF (a proprietary format made by the free Kindle Create program from Amazon). A fact worth mentioning is that MOBI, which is the proprietary file format used by Kindle for its first eBooks, has not been accepted anymore. It was replaced in 2021 for reflowable books and in 2022 for fixed-layout ones as well. Out of the formats listed above, EPUB is the safest choice to use. It is open and widely used by other e-readers, while a properly formatted EPUB file would convert better than a Word file, especially for complex documents that have any elements other than single-column text. A Word document in DOCX format can be successfully used as a manuscript.
Should you have experience in formatting a paperback book, beware not to format a Kindle edition using that same document. Print formatting relies on having an exact page to work with: margins, numbering pages, spacing between lines, and producing an output PDF document which is going to be visually the same regardless of who is viewing it. On the contrary, Kindle formatting is all about flexibility. The difference becomes particularly important for the elements which do make sense on paper but fail when being applied to a Kindle: manually inserting page numbers, setting up margins, creating drop caps with text boxes or implementing a multiple column layout. Should your book already be a paperback, prepare to format the manuscript for an eBook from scratch.

A clean, well-structured source file is the single biggest factor in how smoothly your Kindle conversion goes. Most formatting problems that show up later trace back to shortcuts taken at this stage.
Many formatting tricks seem to work great when printed on paper but wreak havoc when transferred into an eBook. These include such techniques as creating indents with the help of the Tab key or space bar and creating vertical spaces by using the Return key several times. Not one of these will work in the reflowable format used by Kindle books. The indent created with the use of Tab will become extremely big, and several paragraph returns will result in the creation of some odd pages. To create proper indentation and spacing, the author must do it using paragraph styles. In Word, it means that the author must set the “first line indent” and “space after” options for his paragraph style. It may be helpful to turn the option “show formatting marks” on so that all extra spaces and returns would be visible in the document.
All chapter titles and headings within your document must utilize the correct heading styles in Word, which are usually Heading 1 for the chapter titles and Heading 2 for the sub-headings. It is not a mere formality but is the way in which the automatic and hyperlinked Table of Contents is created. Additionally, these styles are how the Kindle Conversion Engine knows where each chapter starts and stops. Bolded and large text used in place of the actual heading style may look identical to you when writing your document; however, it does not provide any of the same structural information that would be included in the heading style. Such documents will yield an unnavigable Table of Contents, and that is perhaps the most common reason why manuscripts need to be resubmitted after review.
The temptation to use a unique font style to make your book stand out is strong, but there are good reasons not to do so in Kindle formatting. The reader can change the font style in his/her preferred device anyway, so using an extravagant font style serves no real purpose other than to complicate things. It is best to use a common font style such as Times New Roman, Garamond, or Calibri for your source manuscript. The more you format your document by changing fonts, font sizes, and colors, the more code will be generated inside the document. The more complex the formatting becomes, the greater the possibility that the formatting code generated may get converted incorrectly. Therefore, keep your formatting simple with one font for your body text and the same font size for all the heading styles.

Beyond the chapters themselves, your eBook needs a handful of supporting pages that help readers orient themselves and help Amazon’s system process your file correctly.
Front matter includes all the pages that come before your content, including the title page, the copyright page, dedication (if any), and the table of contents. As far as Amazon’s editorial review process goes, this process checks for the presence of any placeholders on these pages, so be sure to remove any such information from them. Finally, your title page should contain the title, subtitle (if any), and the name of the author of your book. Your copyright page should contain the copyright information, the year of publication, and any disclaimer or information about the edition (if any). Keep this page free of complications.
Kindle eBook Table of Contents is an essential thing. People expect to be able to click on a title of a chapter and move to that part. The quality standards set by Amazon take a malfunctioning or absence of a TOC as a flaw in the book. The only solution is to create your TOC through the automation function of your word processor that will build it from the Heading styles used in your manuscript. The manually typed TOC may seem all right when you see it on your screen, but the links to your chapters will be absent there, and people will not be able to use them for navigation. If you use the function of creating a TOC in Word, it will get the information from the Heading 1 and Heading 2 styles in your manuscript. In Kindle Create, the application will ask you to specify which heading level you need in the TOC.
Back matter is anything that follows your core content, including information about the author, other books you’ve written, and usually a call to action, whether that be to sign up for your email list or write a review. This is an easily overlooked but important piece of real estate; the reader at the end of your book is at their most excited point of engagement, and good back matter makes the next step clear to them. Be consistent in your formatting even at this stage, using headings for titles, not playing any manual formatting tricks, and making sure that any URLs that you have (such as your own site or mailing list sign-up or other books) are hyperlinks.
Back matter is anything that follows your core content, including information about the author, other books you’ve written, and usually a call to action, whether that be to sign up for your email list or write a review. This is an easily overlooked but important piece of real estate; the reader at the end of your book is at their most excited point of engagement, and good back matter makes the next step clear to them. Be consistent in your formatting even at this stage, using headings for titles, not playing any manual formatting tricks, and making sure that any URLs that you have (such as your own site or mailing list sign-up or other books) are hyperlinks.
All figures in your document need to be at least 300 DPI for visibility on high-resolution Kindle devices. When placing the figure in Word, it is best to use Insert → Pictures to insert the picture in its full size and not copy it from another location and not increase the size of an image after its placement because stretching an image will decrease its resolution. It is also important to know that Word decreases the resolution of pictures automatically to decrease the file size. That is why it is recommended to disable compression of images in the file: in Word’s menu select File → Options → Advanced and then in the section “Image Size and Quality” select “Do not compress images in file”. In addition, it is necessary to set an option to show an image in line with text; text-wrapping options may not be transferred to an eBook format.
While your book cover is separate from the manuscript, it too comes with its own set of requirements. Amazon suggests that your marketing cover is formatted at 2,560 pixels high by 1,600 pixels wide, at least 300 DPI, as a JPEG in RGB color mode (no CMYK for Kindle). Any cover that is smaller than 500 pixels in height or width will not even show up on the website, so make sure you meet the minimum size requirement. For any cover image contained within the actual eBook file, your image should match the marketing cover, include the title and author name, and be at least 50% of the total page width/height. Do not stretch an image that does not meet size requirements. It is better to find or create another image that is properly sized than to submit a pixelated image.
In addition to resolution, how you arrange your images in your document will influence how well they transfer. Make sure to insert each image at the location in the text where it belongs, make sure that the image is aligned with the text and centered, and not wrapped around. Do not combine images with text boxes or other decorative additions placed inside Word, as these often fail to transfer successfully. For an image-intensive book, large file sizes mean high delivery charges that Amazon will take out of your royalties, so it is advisable to compress your images into a reasonable file size as JPEGs without compromising the minimum 300 DPI.
You don’t have to do all of this formatting by hand. Amazon provides free tools built specifically for this process, and knowing when to use each one will save you time.
Kindle Create is Amazon’s free desktop formatting application, and it can be a good choice if you want a guided procedure without getting into the nuances of EPUB coding. The program allows you to upload your manuscript as a DOCX, HTML, RTF, TXT, or PDF document, and from there you can use the program to format your chapters, choose a theme, create the table of contents, and see how it looks on simulated Kindle devices before saving out the file. It allows you to create both reflowable and fixed layout eBooks, but it saves the file as either a KPF file (Kindle Package Format, which will only work with KDP) or an EPUB. The downside to the program is that its themes are less varied than other formatting applications, and the KPF format will not work for anything other than Amazon if you plan to self-publish elsewhere.
For straightforward manuscripts that are not image-heavy, writing your book in Word and then uploading the DOCX file works well as well because Amazon will format it for you automatically. However, there is a downside, of course: the process is less controllable since Word cannot provide the same level of formatting as EPUB can, especially for books with advanced formatting such as tables, footnotes, and others. In case you prefer having more control over your work and have access to the source file that can be re-used for other retail platforms, creating or exporting EPUB is an option worth taking into account.
Preview your work using the Kindle Previewer tool by Amazon. It is the best way to see how your book will appear on various Kindle devices and apps before making it public. The reason why you need this is that the upload process will check whether your file is correct, but it won’t tell you whether your formatting is fine. Your book may have bad heading styles or a messed-up table of contents, yet it will pass the upload process. You need to preview it just to make sure that all the links in your table of contents, chapter headings’ appearance at various font sizes, and the appearance of images in your book are correct. Fixing problems during this step will take just a couple of minutes and fixing them after people start reviewing your work will take much more time.
Formatting does not need to be the bane of your publishing experience. Begin with a well-prepared manuscript, use appropriate headings, verify your images and cover details, test your file using Kindle Previewer before uploading, and your book will be just as professionally formatted as any other traditionally published work. However, if you do not wish to do this manually, download our Kindle Formatting Checklist for FREE, which includes all formatting steps in one convenient location, or contact us for a second opinion of your manuscript before publishing.
Yes. Kindle eBooks use reflowable text with no fixed page layout, while paperbacks require a fixed-page PDF with precise margins and page numbers. Reusing a print file for your Kindle upload, or vice versa, is one of the most common formatting mistakes new authors make.
EPUB is generally the most reliable option, since it converts most predictably into Amazon’s internal delivery format. DOCX works fine for simple, text-only manuscripts, and KPF (from Kindle Create) is a solid Amazon-specific alternative if you don’t plan to publish on other platforms.
This is almost certainly because you created the TOC yourself rather than allowing it to generate automatically using the heading styles in your manuscript. Return to the manuscript and use the Heading 1 and Heading 2 styles on your chapter names and subheadings to create a new TOC.
Your images should have a minimum resolution of 300 DPI both for your cover and for any images you add into the manuscript itself. Add your images at their native size, don’t stretch them, and make sure that Word is not compressing your images.
Not anymore. The MOBI format has been discontinued by Amazon, first for reflowable documents and then later for fixed-layout books as well. If you’ve read some advice about formatting that mentions MOBI, it’s outdated. Use EPUB, DOCX, or KPF.
Yes. Kindle eBooks use reflowable text format without a fixed page layout, whereas paperbacks use a fixed-page PDF format with defined margins and pagination. Using the same print file for uploading to your Kindle eBook or vice versa is the most common formatting mistake that new authors make.
In general, the EPUB format should work the best, because it is converted to Amazon’s internal delivery format with the highest reliability. DOCX file is okay for uploading simple text-only manuscripts, and KPF (created using Kindle Create) is also an acceptable Amazon-specific file format if you’re not planning to publish elsewhere.
Yes, but it is not the best choice for a regular eBook. PDF files are fixed-layout documents that do not reflow and are likely to appear poorly formatted on small Kindle screens. Therefore, PDF files are more suitable for print interiors and some kinds of fixed-layout eBooks.